Problem
It was brought to my attention the network scanning ability for the Canon Pixma MX340 really only solves the issue of not having to plug in a physical cable. You still need to be in front of the scanner for you to press buttons in conjunction with the software. This was a pain with the scanner being located upstairs and some PCs are downstairs.
Solution
I knew the popular Linux scanning backend (SANE) was going to be suitable for this task. Not wanting to keep a PC powered on to just serve out the scanner, I repurposed an old Raspberry Pi 1B that was laying around in a drawer. This solution would work on any flavour of the Raspberry Pi or embedded computer for that matter.
I chose ArchLinuxArm for the OS because it has a minimal install without bloat, very short package release time and lastly very easy to make a read only rootfs on.
All code is available here
Arch Installation
First head over to ArchLinuxArm and follow the install directions for your platform.
For partitioning, there are lots of guides on making ALARM operate a read only rootfs. I like changing /boot/cmdline.txt to boot the root partition in read only mode.
root=/dev/mmcblk0p2 ro rootwait console=ttyAMA0,115200 console=tty1 selinux=0 plymouth.enable=0 smsc95xx.turbo_mode=N dwc_otg.lpm_enable=0 kgdboc=ttyAMA0,115200 elevator=noop
I then modify /etc/fstab to mount /boot read only and have a read/write /var partition.
# Static information about the filesystems.
# See fstab(5) for details.

#
/dev/mmcblk0p1  /boot   vfat    defaults,ro        0       0
/dev/mmcblk0p3 /var	ext4	defaults,noatime	0	0
I then symlink /var/log and /var/tmp to /tmp
Once Arch is installed, I suggest following the extra guides here
SANE
For installing SANE you can opt to run as root pacman -Syu sane, however I found whilst the MX340 was supported, button & ADF support was lacking. I decided to install compile SANE from source with a patch to add this functionality. I have since added in a merge request to mainline these changes.
Now plug in your scanner over USB and run scanimage -L. It should list your scanner. If not, ensure your user is in the lp Linux group.
SANE Frontends
Now this scanner also has an ADF, so I wanted to use the scanadf program from sane-frontends. If you install sane-frontends from the arch repositories you will have to install all the GUI dependencies. I decided against this and again made a PKGBUILD to create sane-frontends with no GUI support.
ScanBD
To handle scanner button presses I chose to use scanbd. However the official AUR package doesn't support armv6h, uses the group scanner and does not have the right scripts directory. I modified the PKGBUILD to fix these :)
To finalise the setup of scanbd follow the guide here.
Now if you run scanimage -L it should list your scanner as being over the network backend.
ScanBD Scripts
I have placed all the scripts inside the tarball.
ADF scanning: Once the last sheet has been scanned it'll automatically trim the images and make one PDF will all the pages.
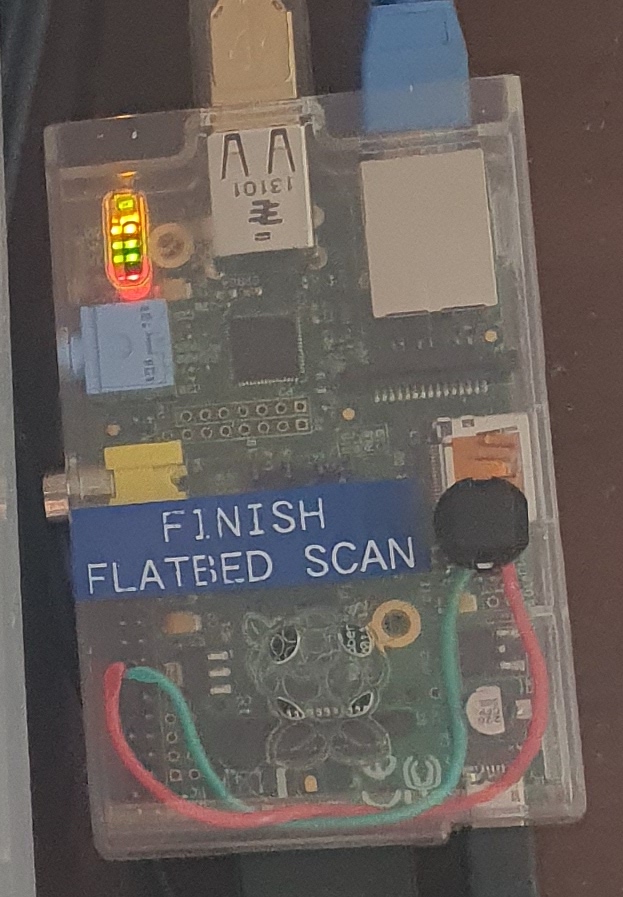
Flatbed scanning: Once you are done scanning in one page at a time, hit the button attached between GPIO 23 and GND on the Pi. This will combine/trim the images into one PDF.
SAMBA
To share the scanned documents, I have a simple SAMBA share located at /var/srv/share_scan where the documents get placed after processing.
Note: SAMBA has issues if /var is not writeable.
Conclusion
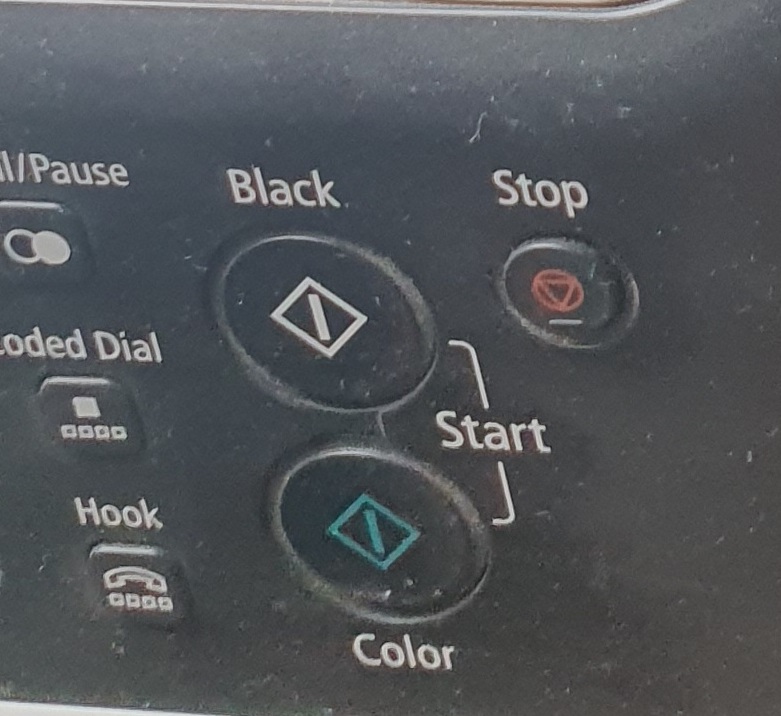
To scan, just walk up to the scanner, place the documents in the ADF and use the normal scanner buttons to initiate the scan. It'll then auto-trim and place on the network share for access from any PC.
Similar situation if you use the flatbed scanner.
Simple & easy.